Showing posts with label mods. Show all posts

Wednesday, June 30, 2021

Tenere 700 - Suspension tuning update - Vast improvements!

Riders looking to get more practical performance out of their bike (whether motorcycle or bicycle, for that matter) are wise to first invest in tires and then suspension. Suspension tuning is especially vital to getting the most from your ride. Unless you fit the manufacturer's narrow criteria for rider weight (and many Japanese bikes are under-spring from the factory), chances are your bike will not handle as well as it could--especially on rough terrain.

Accelerated Technologies just north of Peterborough, Ontario, specializes in suspension tuning for all manner of vehicles, but especially sleds, ATVs, and motorbikes. John Sharrard, the brains and owner of the operation, is a former professional racer with championship titles to his name as well as some serious chops as a factory race tech for Honda and Yamaha. He had previously worked magic on my WR250R, completely transforming its off-road and on-road handling. Thus inspired, I was eager to bring him my 2021 Tenere 700 at the end of my first season with the bike, looking for a similar transformation. 

Having read countless online discussions about tuning the Tenere, a clear consensus emerged on the limitations of the factory setup. Mainly: the rear is under-sprung for riders above 165 lbs; putting in a stiffer shock spring requires additional damping beyond what the stock valving will achieve; and there are many complaints with high-speed compression damping front and rear. In addition, many people report that the clickers (fork and shock) have a much narrower range of effectiveness than the total number of potential clicks would suggest--imposing further limits on what damping you can achieve with the stock valving. Unfortunately, you need to modify the suspension if you're heavier than 75kg/165lbs and you plan to push the bike around in the dirt as it was intended to be used. 

For reference, I'm 91kg/200lbs in my birthday suit and 104kg/230lb in my riding suit. The tuning plan was to choose springs based on just me on the bike with no luggage and no preload applied so I'd have maximum range on the preload adjustment for when carrying luggage. That meant changing the shock spring. Interestingly, his sag measurements suggested that the factory fork springs were sufficiently rated--a bit of a surprise to me, given some of the online discussions I'd seen. 

Originally, I had installed an 80N-m shock spring from Rally Raid as well as the Rally Raid preload fork caps. While the stiffer shock spring reduced bottoming, John's opinion was that it still wasn't stiff enough. In fact, he noted that my shock appears to have bottomed even without luggage, so he wondered if that was the source of the harshness I'd felt. (However, I suspect the o-ring was in its lowest position based on other work I'd done.) John also felt the Rally Raid spring was the wrong dimensions for the application, so he replaced it with a longer version rated to 98N-m. As for re-valving, we agreed on a linear strategy to stiffen up the compression damping front and rear. This can be tricky to get right with a progressive linkage in the rear, so we just had to try something and go from there. 

By the time the first re-valving was completed, it was winter (-20C and snow) and unsafe to do a proper test ride. So I had to wait until spring to finally try it. Unfortunately, as soon as I hit the bumpy spring roads, I found the new setup to be extremely harsh. Low-speed compression damping could be managed by the clickers, but high-speed compression damping was so harsh that the bike would catch air off small expansion joints. Dirt roads and stutter bumps were a nightmare to ride at all but the lowest (or unsafely highest) speeds. And hitting any minor pothole or rock was like getting a 2x4 in my backside--leading to a wipeout on one trail that was obviously caused by the wheels pinging off ruts instead of rolling through them. Forget about hitting a pothole while cornering. The bike was simply far too harsh to ride for any length of time except on the smoothest roads or while standing. The high-speed compression damping needed to be dialled way back--but at least we now had some goalposts to work from. 

Below are the shock and fork setup notes from Accelerated Technologies. The details may be a little hard to decipher, so I've tried to decipher them below.


Shock tuning

Factory shock valving (9 valve shims):

  • 34 x 0.15
  • 32 x 2.0
  • 30 x 0.20
  • 28 x 0.20
  • 26 x 0.20
  • 22 x 0.20
  • 20 x 0.25
  • 20 x 0.25
Shock revalving attempt #1 (done at end of first season; red indicates the changes from factory):
  • 24 x 0.10
  • 32 x 2.0
  • 30 x 0.20
  • 28 x 0.20
  • 26 x 0.20
  • 22 x 0.20
  • 20 x 0.20
  • 18 x 0.20
  • 16 x 0.20
  • Washer

As noted, this setup was way too harsh and unrideable. Not recommended! Back to Accelerated Technologies for round #2. This time I rode my bike there and back - 650km in a day, to allow for testing. I brought my camping gear and set up in the back lot while they worked on my bike. Happy company with Bear, the shop dog, who was probably more interested in my lunch. 

Shock revalving attempt #2 (only 8 valve shims):

  • 30 x 0.20
  • 28 x 0.25
  • 26 x 0.25
  • 24 x 0.25
  • 22 x 0.25
  • 20 x 0.25
  • 18 x 0.30 (qty 2)
Fork tuning

Factory fork compression valving:
  • 16 x 0.10 (qty 5)
  • 12 x 0.10 (transition)
  • 16 x 0.10
  • 14 x 0.10
  • 12 x 0.15
  • 10 x 0.15
  • 16 Washer
Fork compression re-valving attempt #1 (red indicates changes from factory):
  • 16 x 0.15
  • 16 x 0.10 (qty 5)
  • 12 x 0.10 (transition)
  • 16 x 0.15
  • 15 x 0.10 (qty 4)
  • 14 x 0.15
  • 12 x 0.15
  • 10 x 0.15
  • 16 x 0.30 washer (qty 2) to expose more threads for additional shims

Note: the above tuning was too harsh, but not as bad as the shock felt. 

Fork compression re-valving attempt #2:

  • 16 x 0.15
  • 16 x 0.10 (qty 4)
  • 10 x 0.10 (transition)
  • 16 x 0.10
  • 15 x 0.10 (qty 2)
  • 14 x 0.15
  • 12 x 0.15
  • 10 x 0.15
  • 16 x 0.30 washer (qty 2) - Note: not sure if this was added in the revised stack
Factory fork rebound damping:
  • 16 x 0.10 (qty 5)
  • 10 x 0.10
  • 16 x 0.10
  • 14 x 0.10
  • 12 x 0.10
  • 10 x 0.10
  • 8 x 0.15
Fork rebound damping attempt #1 (changes in red; this worked well, so we didn't adjust it during second re-valving)
  • 16 x 0.15
  • 16 x 0.10 (qty 5)
  • 10 x 0.10
  • 16 x 0.10
  • 14 x 0.10
  • 12 x 0.10
  • 10 x 0.10
  • 8 x 0.15
Forks used 100mm of Motul 5 Wt full synthetic fork oil. As John said, if you're not sure what level of oil to choose, go with 100mm because it is almost always perfect, leaving you just enough air as a bumper. 


Setup #2 works very well, as I discovered first through several kilometres of testing with an unladen bike on a forest road near the shop, while stopping frequently to assess maximum suspension travel on the shock and forks. Grip on loose surfaces (especially uphill and downhill) was vastly improved, as was overall handling and braking. (On a historical note, this forest road is known locally as the "Oregon Trail". It's the original road allowance and homesteader trail for what later became County Road 39, located nearby. Gotta love those "lost" roads!)


On the ride home, I gave the fully laden bike (with five clicks of preload) a real workout on a mix of rough pavement and over 100km of rough forest roads. Again, the bike handled brilliantly under all conditions,  and used up the full range of suspension travel without noticeable bottoming, as evidenced by the position of the o-rings on the fork and shock.


It wasn't cheap, but it was well worth the expense to tune the Tenere in this manner. If I was to spend more money on tuning, it would be to upgrade the pistons for better bottoming feel. But realistically, I'm not a hard rider. Most of my riding is in the range of 50-100km/hr on dirt roads, with my sweet spot between 40-80 km/hr so I can enjoy the scenery. While I'm not taking jumps or looking to thrash my bike, I do insist on having the wheels follow the ground when they're supposed to ensure control. For me, the investment has resulted in a great setup and a lot more confidence on mixed surfaces.

Saturday, June 5, 2021

Review: CamelADV high exhaust for the Tenere 700


The Tenere's low-mounted exhaust has earned some rightful criticism for its tendency to bend into the swingarm if you drop the bike the wrong way. Since I was wanting to avoid this problem while losing some weight off the stock exhaust, I was excited to hear about CamelADV's project to develop a high exhaust kit. After plunking down a pre-order I then had to wait patiently over last winter for CamelADV to work through the logistical nightmare of shipping and receiving overseas goods in the middle of a pandemic. But in the end it all arrived well before riding season, and Cory was awesome about keeping everyone up to date on progress. 

Cory has already posted lots of good info about the exhaust at CamelADV, so I won't repeat that here. The exhaust pipe is beautifully made, the materials and fit are top-notch, and the results look great. Having now put a couple thousand kilometres on my exhaust, here are observations that may help if you're considering ordering one for your Tenere.

You have to cut your factory exhaust mount

Since the CamelADV silencer mounts higher than the stock silencer, there's no easy way to use the stock exhaust hanger which is welded to the rear subframe. So you need to cut it off. CamelADV includes an ingenious metal template to precisely locate the cuts, and a regular hacksaw will suffice if you're careful and patient. Just follow the excellent video on the CamelADV site. Some people may not like the idea of cutting their frame, but when you consider the OEM bracket is welded on, if you drop the bike on the exhaust you're likely to bend the hanger or subframe given the leverage of the long exhaust mount. The CamelADV approach reduces the leverage and beefs up the mount with a machined billet part. So realistically, adopting the CamelADV exhaust almost certainly makes your Tenere more robust in this area. 


CamelADV has suggested they may make a kit to return the exhaust hanger to stock. I imagine a simple steel rod insert would work fine, so I'm not too concerned if something needs to be done in this respect.

The silencer is LOUD!

CamelADV has chosen a generic silencer. It seems reasonably well made and is a good deal lighter than the stock silencer (at 3kg, it's about half the weight), which is important for handling given its higher location. However, I was actually mortified the first time I rode out because suddenly I was conspicuously like all those straight-pipe cruisers that drive me crazy when they're revving pat my house. This exhaust is not gonna be popular in the backwoods if discretion is required. 

Uncorked, the silencer delivers a guttural, savage, animal bark which I must admit sounds pretty awesome at idle and when blipping the throttle. But the problems arises when accelerating and cruising at 5000-6000 rpm (highway speeds). The combination of high tailpipe location and tone quickly becomes headache-inducing even with earplugs in and a quiet helmet (Shoei Hornet). Fortunately the silencer includes a dB-killer, which I now run with all the time (despite trying hard to get used to running without it). It makes the exhaust perfectly tolerable. Once again I can hear music and conversations in my headset, and vlogging isn't a monologue of exhaust note. However, the hole on the dB killer is rather small so I wouldn't be surprised if it reduces engine power, especially at higher RPMs. While a seat-of-the-pants test doesn't suggest a difference, I may experiment with enlarging the hole to something closer to stock. If that doesn't work, I may look for a different silencer. 

It fits with the RideADV pannier racks

Greg at RideADV Tours in Australia has some excellent Youtube videos describing mods for the Tenere 700. Since he runs a tour company, he and his crew have now put over 150,000 km of rough, real-world testing into their fleet of Teneres over the past two years, trying different suspension, tires, luggage, and other accessories to find that optimal mix for hard ADV performance. They really flog the bikes under ADV conditions similar to those in my area. I connected with Greg about the pannier racks they were developing and learned that he and Cory at CamelADV had also connected with each other to swap gear. They were able to determine that the CamelADV exhaust fits with the RideADV custom pannier racks. These racks are pretty interesting and I'll share details about them in a future post. Unlike all other racks I've seen for the Tenere, these ones hug the frame forward and low, in an optimal position to centralize mass and support soft or hard luggage on rough roads. Having tried rackless panniers last year, I concluded I didn't like how they flopped around on rough terrain despite some aggressive strapping approaches, and I reverted to a rack approach even though it means extra weight. 

The following pics are from Greg and show the prototype racks in his shop in Australia. (Note that he runs without the dB killer. As he told me, "I'm in the middle of bugger-all and it keeps the 'roos away!") Based on this, I ordered the racks. More on that to come...


Conclusion

It's a top-quality kit at a reasonable price that solves a minor design flaw of the Tenere 700 for offroad riding. The silencer is generic and, in my view, intolerably loud if you need to do a lot of highway miles or don't want to be "that guy". It's perfectly fine with the dB killer inserted and still sounds great. Unknown if the dB killer reduces performance. Unknown what other silencers may fit the kit geometry without requiring modifications to the connector pipe or hanger mount.

Review: Cyclops Aurora lights on the Tenere 700

In my part of the world (Eastern Ontario, Canada) dusk is when all the critters start to hang out on the road. And critters like deer are best detected and avoided long before they spring unpredictably across your path. The stock LED headlight on the Tenere 700 is pretty good for conspicuity in traffic but is so-so at best for night-time illumination. It is unlikely to show you deer lurking on the shoulder. So, if you plan to ride often at dusk or at night, auxiliary lights are going to be a valuable safety upgrade to increase your field and range of illumination over the Tenere's stock lighting. 

Years ago I outfitted my WR250R with a pair of 40W, 4-emitter LED lights from Fenix (similar to a Denali option) that turned night into day. They are especially helpful on dark forest trails during the shoulder seasons. While this would be great lighting on the Tenere, I figured it would be overkill because the headlight is already so much better than the anemic candle on the WRR. So I began to look for smaller, lighter auxiliary lights that could double as conspicuity lights.

After much searching I converged on the Cyclops Aurora LED lights. The build quality is excellent and the size (2" dia.) and illumination pattern seemed to be a good compromise over the tanning lights on my WRR, and over other, cheaper options I considered. 


I also recommend the orange halo feature which can be ordered optionally. It's not obvious from the product marketing photos, but adding the halo doesn't reduce the main lighting area. Rather, it converts an otherwise opaque section of the lens perimeter into an orange-lit halo illuminated by a second LED cluster with its own separate wiring. This arrangement gives you the flexibility to pair the halo with a turn signal or wire it always-on for conspicuity lighting; I opted for the latter. And since the halo is extremely bright, it's very conspicuous! For the style-conscious, mounting the Cyclops lights under the round headlights really completes the bug-eye theme of the Tenere's face. 

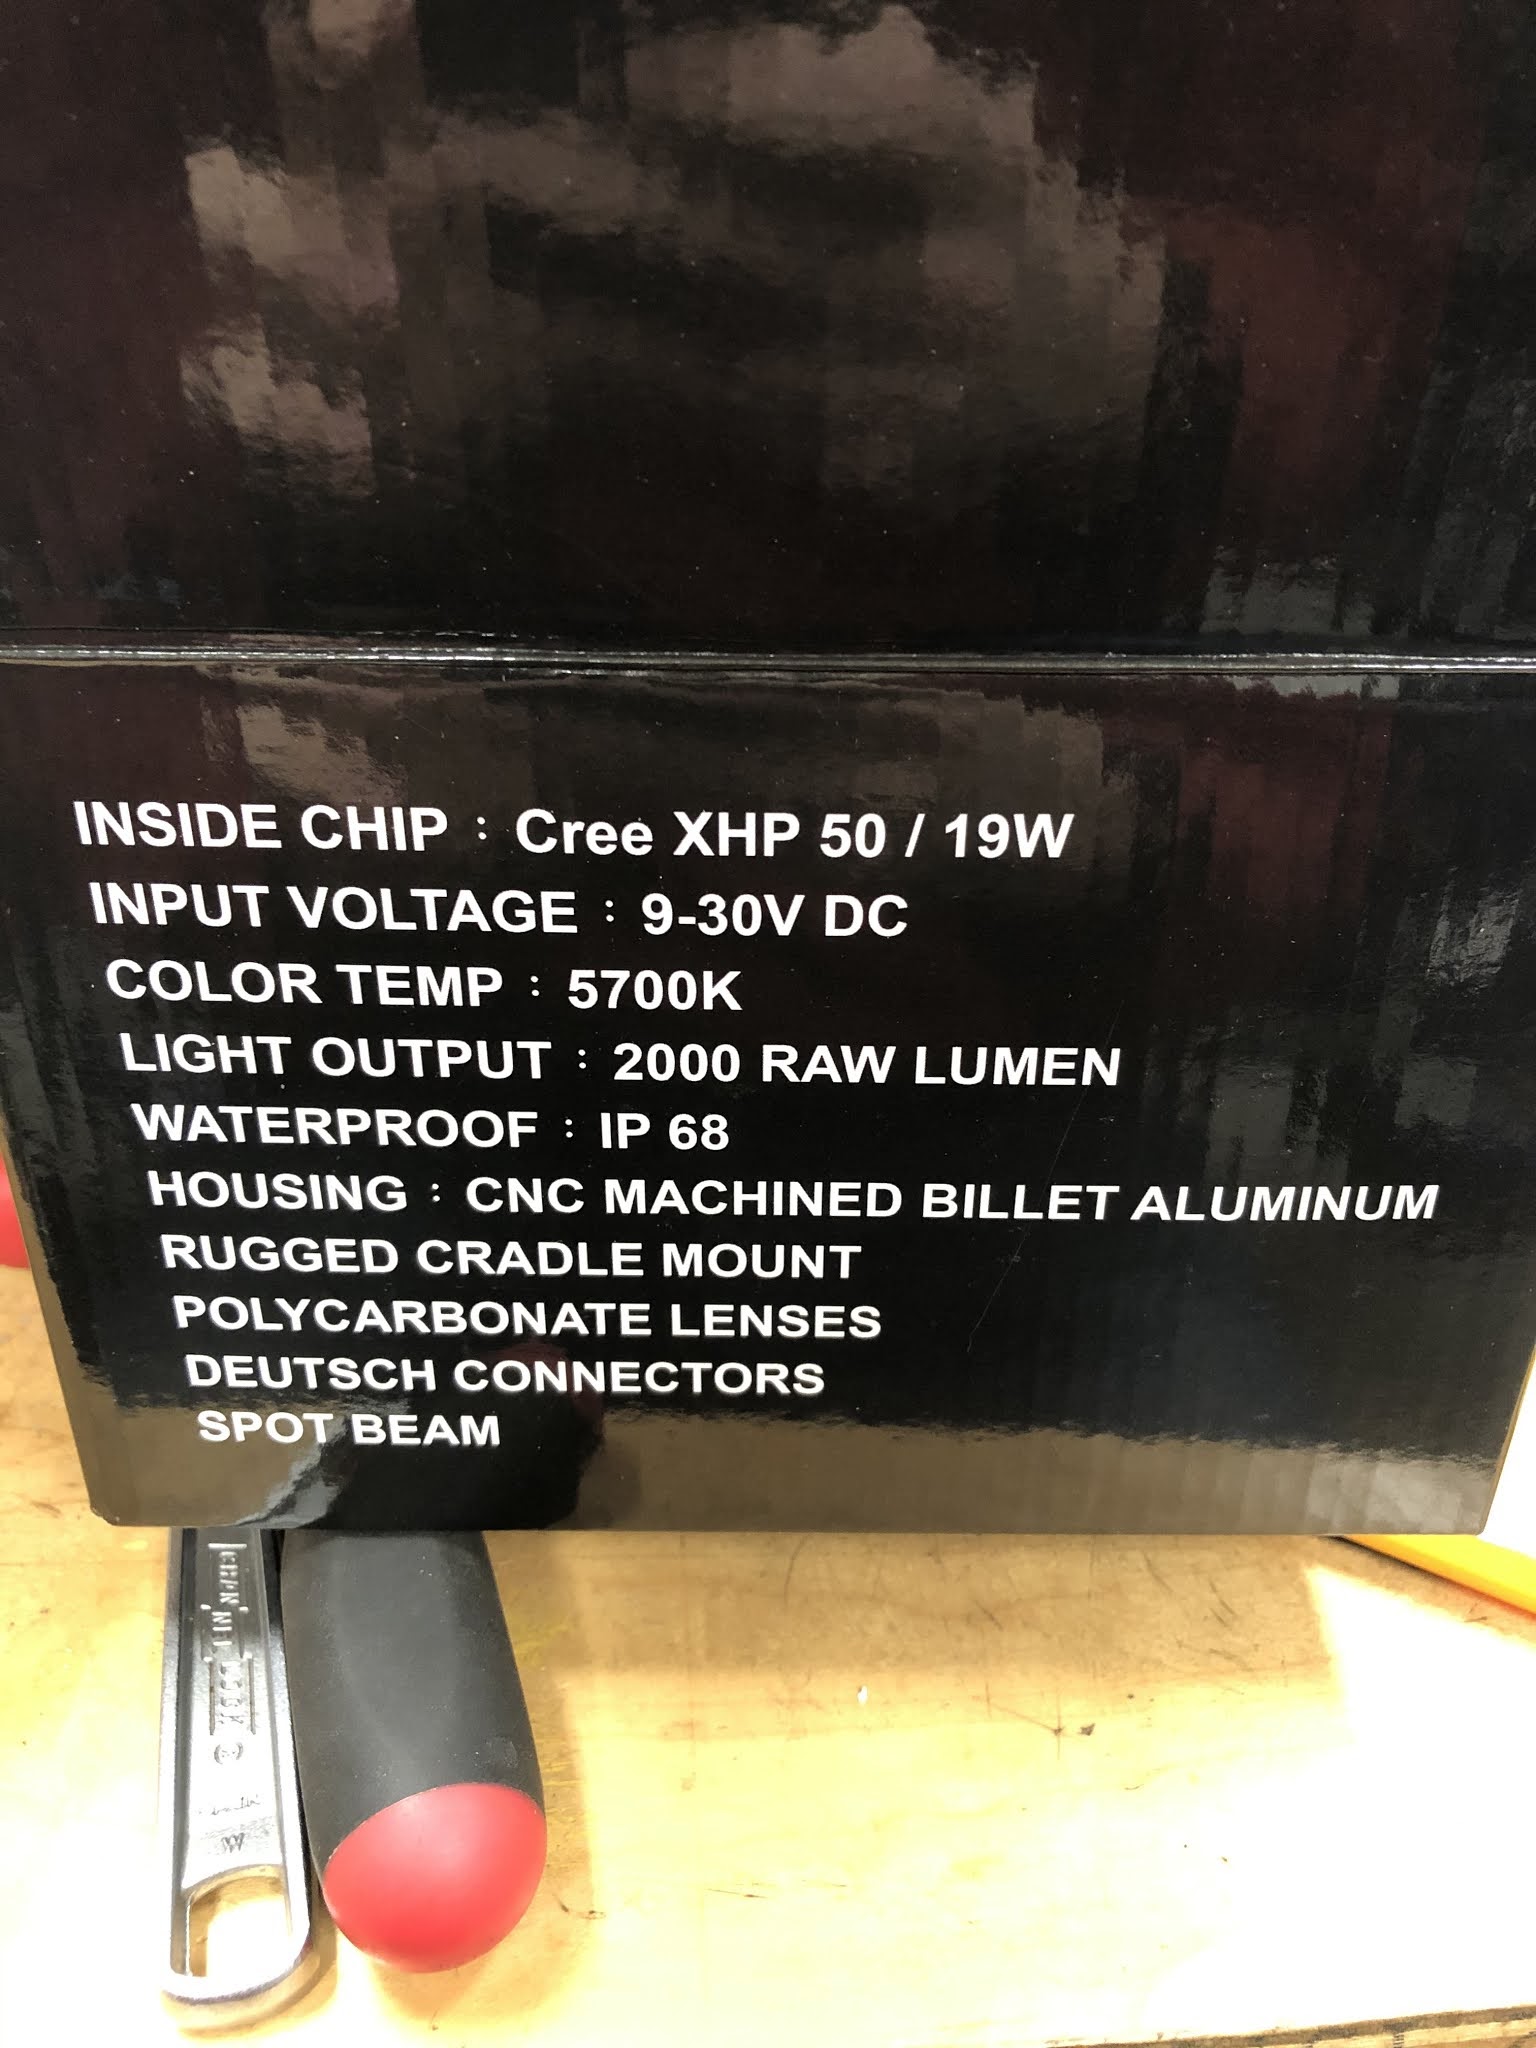
Fully lit, each Cyclops Aurora proves 19W of main LED lighting. That's plenty to through a beam a few hundred metres ahead with a decent spread to the light up the sides of the road. The result is a more complete wash of the way ahead than the OEM headlights alone achieve, especially with their sharp horizontal cutoff. The halos alone are also extremely bright and provide a substantial orange wash on the road ahead.

As for mounting the lights, there are few after-market brackets available. I wanted one that mounted to the lower triple clamp so the lights would turn with the bike (since the headlight doesn't). The best quality option I found was from Rugged Roads, although the OEM in the UK didn't have stock so I had to order from Germany (and it was cheaper than ordering from the manufacturer!). The bracket is top quality, nicely finished, and provides a sturdy and discreet mount for the lights in a relatively protected location. Note that if you've installed the high-fender kit on the Tenere, you will likely need to consider another mounting option since this bracket uses the high fender bolt holes. 


When I ordered the lights I didn't notice there's a special harness option available for the Tenere 700. Turns out you need this harness. I had intended to make my own harness using OEM connectors ordered from Eastern Beaver, and even rigged it all up only to discover that the Tenere uses a non-standard method to turn on the high beams: The ECU effectively grounds the high-beam circuit in the headlight to illuminate the additional LEDs. This is the opposite of typical high-beam lights and how most aftermarket auxiliary lights are controlled. These typically rely on 12V being supplied via the high beam lead when you flick the high beam switch. On the Tenere, you'd need a way to invert the control signal  Sure, there are some solid-state relays available that can trigger when switched from 12V to 0V, but by the time you factor in sourcing the parts and rigging the circuit, you're much better off just ordering the harness from Cyclops. It's only about $75 (don't quote me on that). Cyclops was generous enough to ship me just the harness (which normally isn't sold separately) when I called them to explain my situation.  

The high-beam wire is located on the right side of the dash near the turn signal plug. It's the yellow wire in the 6-position connector. I removed the pin and spliced in a heat-shrink-covered pigtail with a bullet connector to attach to the Cyclops harness. This makes it easy to revert to stock, and I don't like piercing insulation with wiretaps since that can allow moisture ingress leading to corrosion.

The Cyclops harness plugs into the Tenere's left side auxiliary connector (white; near the indicator connector) which is switched with the ignition. 

The Tenere includes four auxiliary connectors at the front: a triangular three-pin connector on each side intended for heated grips and auxiliary lights; and a rectangular two-pin connector on each side for accessories that mount in the dash holes. (Note that the left accessory plug powers the 12V plug on the dash; the other accessory plug is unused on my bike because it requires an obscure connector that I haven't gotten around to switching for something waterproof and more readily available. However, I'm likely to rig it to power the double USB port on my dash which is currently wired into the PC-8.) Since I had already used the righthand three-pin connector to plug in my Eastern Beaver PC-8 expansion box (so it would turn on with the ignition), I routed all the Cyclops wiring to the left side. 

Wiring the lights was initially a bit of a chore, mainly because of the lack of room to tuck away the extra wiring. I won't describe the gong-show of different options I tried to hide the relay and wiring inside the headlight housing. Don't waste your time with this approach. It would be the neatest, but it just doesn't fit because of the Cyclops switch relay, and it also creates the problem of being a pain to access in the event of an electrical gremlin.  

The method Cyclops recommended to position the wiring didn't seem very practical to me so I experimented with some different approaches. In the end, I mounted the slack wiring as a vertical loop against the left fork inside the triple clamp, positioning the connectors in this location with a short section of bicycle inner tube for mechanical protection, and zip-typing the whole mess to the fork tube. The relay and excess wiring got zip-tied to the plastic frame mount near the aux connectors, where it's easily accessible by removing the left body panel and is reasonably well protected from rain and splashes. Overall, the arrangement minimizes flexing of the wires and keeps it clear of the other wire and cable spaghetti in this area when turning the bars. 

After a few thousand kilometres of riding the lights have performed very well. The orange glow really seems to catch people's eyes and it makes a striking front-end for the Tenere. Illumination is greatly improved and the beam spread is easily adjustable to ensure both a good wash of area lighting (looking a bit wall-eyed on my bike) as well as a safe cutoff height to reduce the risk of blinding of oncomers. While a dimmer can be used with these lights (and I use a Skene with my WRR setup), I don't feel it's necessary given the always-on conspicuity of the orange halo by itself. Flicking the high beams gives that extra sauce for max visibility. 

My only complaint with the lights is the factory strain relief on the aluminum housing seems to be an inflexible material, causing the external insulation to pull back from the internal wiring. While I could tuck it back together, this is a weakness in the environmental integrity that I'll need to keep an eye on. Some silicone tape or sealant may be needed to ensure a better mechanical connection in this location.  

Thursday, August 13, 2020

Tenere 700: Tie-down bracket on passenger foot pegs for soft luggage

The set of Enduristan Blizzard XL soft saddlebags I'm fitting to my Tenere require a tie-down point at the passenger foot pegs. Since I'm not using and have removed the passenger foot pegs, I need a place to loop the lower bag straps since I don't want them wrapping directly around the frame (that'll wear through the finish). R&G Racing offers a nice pair aluminum tie-downs like the one below, which bolt into the foot peg holes. Nice design, but also about CAD$130 and overkill for my needs.

I opted to make my own brackets.  

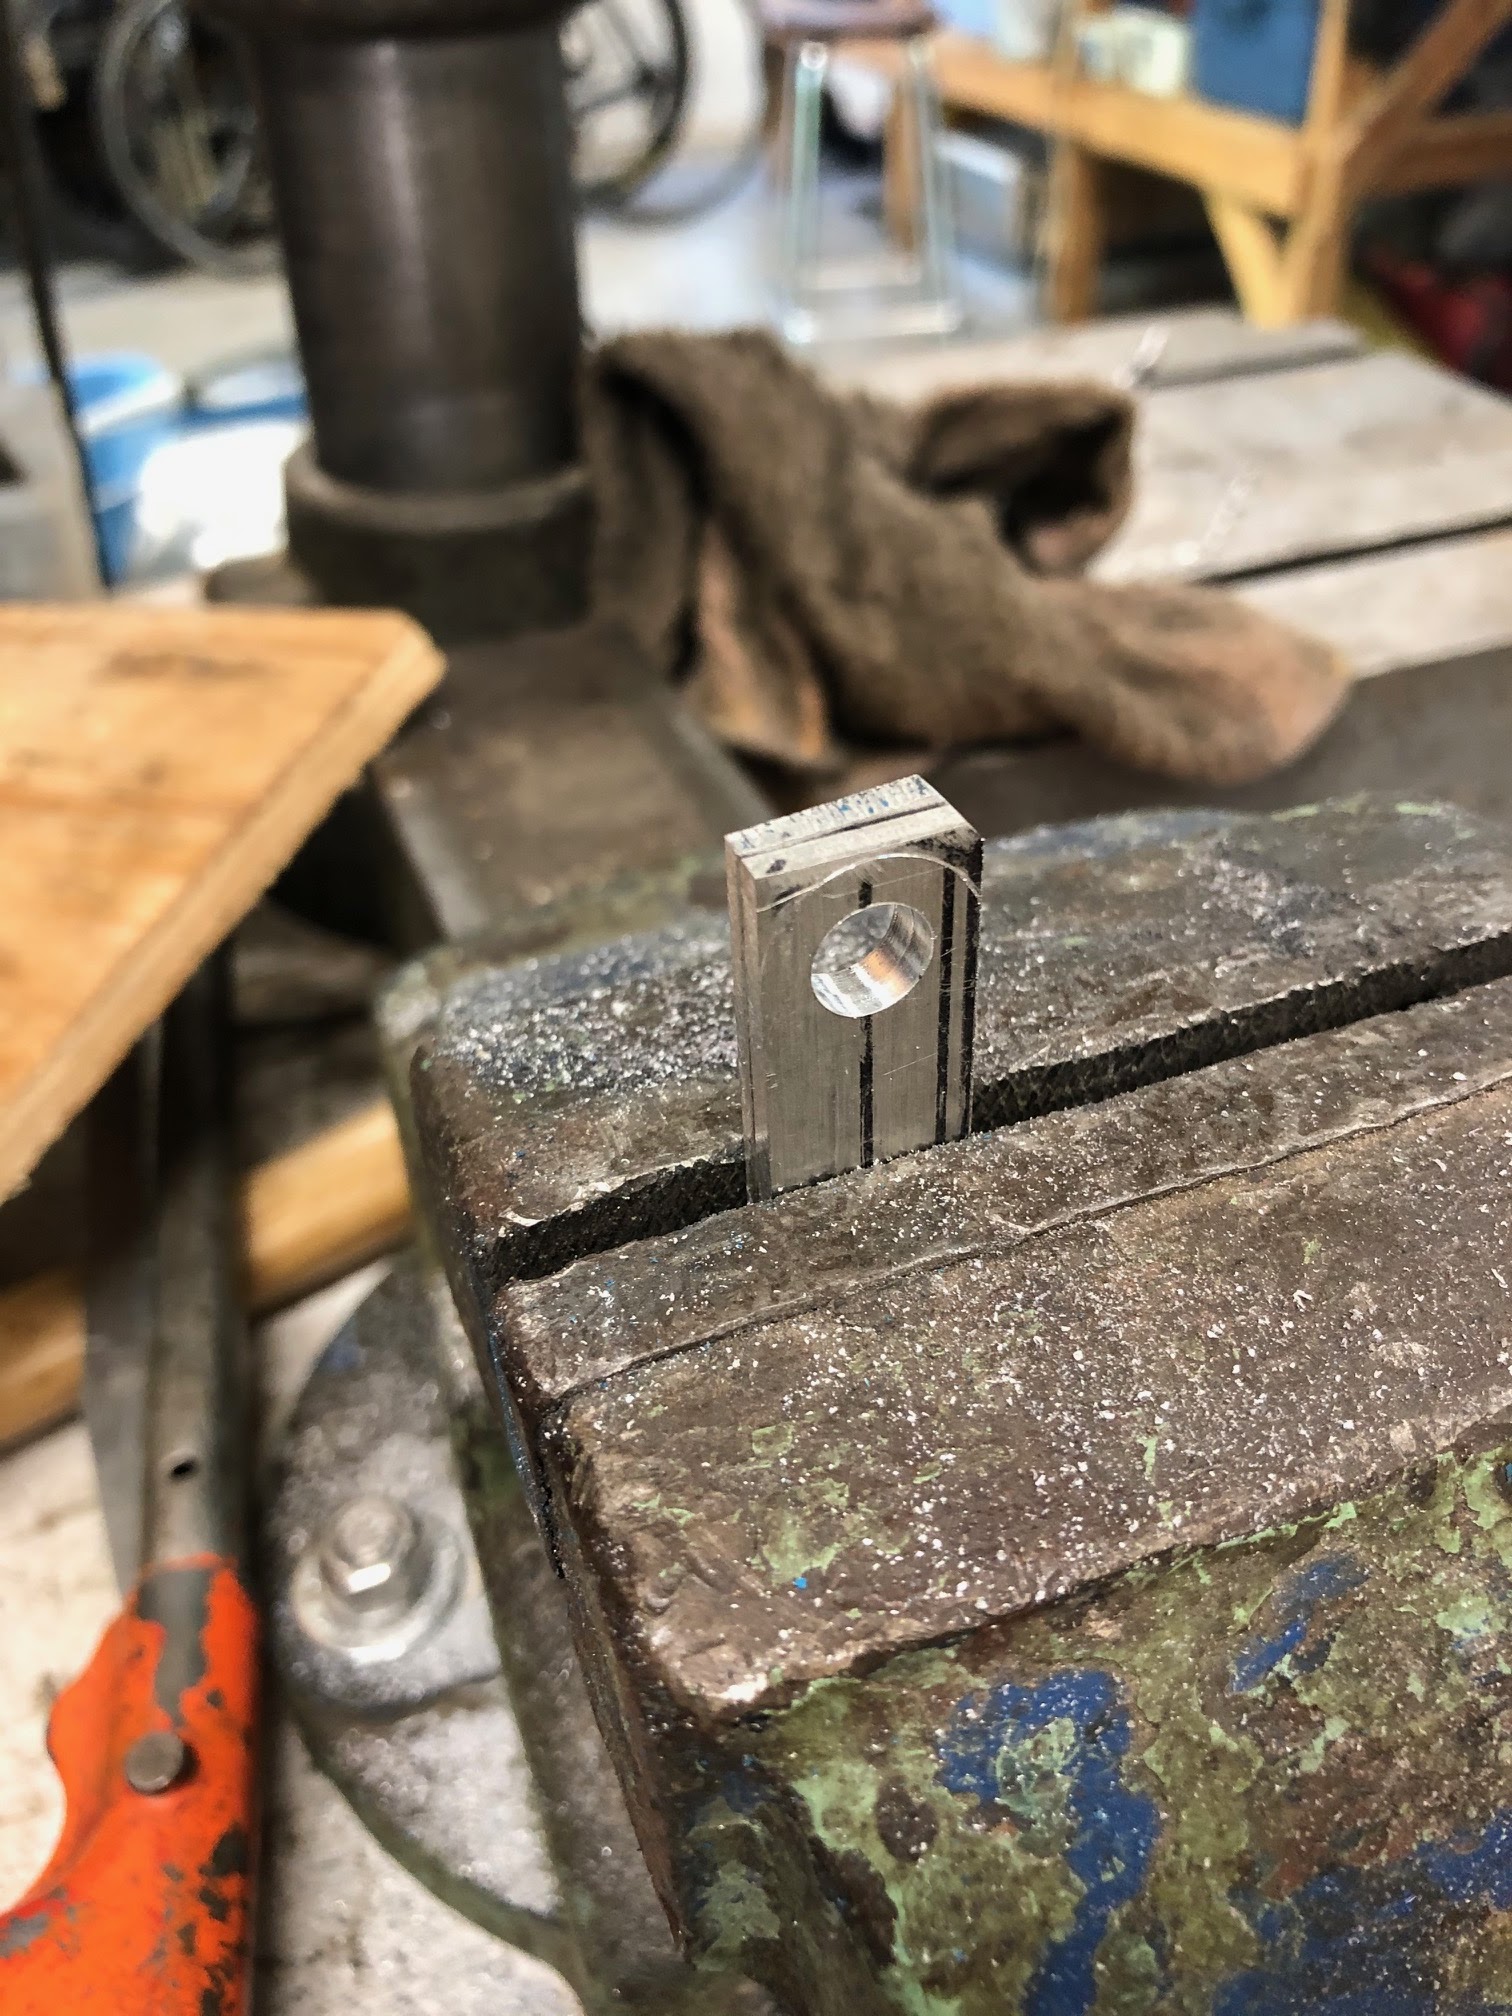
The bolt holes for the foot pegs are on 70mm centres. I figured that one bolt alone (I'm using the original foot peg bolts) should provide plenty of mechanical strength for a 1" nylon baggage strap. But to ensure the strap stays in place, I needed to make a simple bracket from 3mm T6061 scrap aluminum I had lying around. The bracket bridges the two mounting bolts, providing some additional mechanical strength. A few minutes with a hacksaw, file, and drill press had two nice brackets fabricated. I used some aluminum tubing (1/2" dia.) cut to 14mm length as bolt spacers. Total cost about $0 and an hour of effort, since I had the scraps lying around. But if you had to buy the aluminum, tubing, and paint, you're still looking at <$20 with lots of material left over.

The tubing takes the bulk of the load from the webbing loop which pulls up to the rear, in line with the frame tube. Some light sanding, rounding of edges, and coats of Krylon had the end product looking pretty good. 

I though about sliding some plastic tubing over the brackets to provide additional protection for the straps, but this is probably unnecessary. 

Since the Enduristan Blizzard bags are a rackless design, they are meant to press against the rear body panels. While the bags have some nice padding on the inside, I opted to apply some 3M film to the lower section of the paint to protect again inevitable wear from grit. Not the neatest application job, but this was my first time trying a wet application. I'll post the template I used in case you want to cut your own film. 


Next up is fitting the bags. An Adventure Spec top rack is also on its way, which may change my mounting method slightly. Will post on how it all comes together.

Tuesday, August 4, 2020

Review: Motorcycling with a DJI Mavic Mini drone


Bringing a drone along for the ride opens up some interesting possibilities for exploring beyond the trail and capturing great shots of your adventure. After spending far too many hours researching drone options online, I bought a DJI Mavic Mini from Dr. Drone (excellent service and pricing!). A key reason for choosing the Mini was that at 249g, it's just under Canada's 250g limit before a drone pilot license is required. While I plan to get certified some day, for now I figured it'd be smart to learn with something relatively cheap before splurging on more expensive gear (e.g. a Mavic Air 2). 

DJI makes high quality products and the Mavic Mini is no exception. It packs a decent camera with gimbal stabilization, high quality components, and up to 30 mins of flight time per charge into a package that folds up neatly and fits into the palm of your hand. This makes it ideal for carrying along on hikes and rides. However--and as with any gadget--if you don't make it easy to access, you're unlikely to use it and then it just becomes aspirational deadweight. So the challenge was how to make the drone readily accessible on the Tenere 700 while riding solo, so I could get some interesting shots while actually riding with gloves and helmet on. 

Like most of DJI's drones, you need some kind of screen (mobile phone or tablet) to view and control the camera while in flight. It's important that you check the compatibility of the phone or tablet you plan to use, because not all options will work (or work reliably) with DJI's flight apps (for the Mavic Mini, it's DJI Fly). DJI has put most of their effort into being compatible with Apple devices, so if you're using Android it can be a bit of a compatibility crap-shoot. I originally used an iPhone 8+ for flying, but since that's my company phone and short on storage, it wasn't a long-term option. The DJI Fly app and the video it record during flight can quickly fill several gigs of storage. 

At the same time, I wanted a screen for two other purposes on my bike. One is navigation, hopefully to replace the outdated and clunky functionality of my Garmin Montana GPS. (More on this in another post, but for now I'll say that the OsmAnd+ and Locus Maps Pro apps are solid options.) The other reason for a dedicated second screen is to control my GoPro Hero 8 camera. The GoPro app provides a camera preview mode, remote control, and other features that become essential when your camera is mounted where you can't easily see or access it with a helmet and gloves on. Between the DJI, navigation, and GoPro apps, a dedicated screen and mounting solution compatible with gloves was essential. 

Initially I looked for a small tablet since the larger screen size would aid visibility when flying or navigating. Samsung's ruggedized Galaxy Tab Active 2 tablet seemed perfect, but its hardware is now outdates and slow, and I could find no information to confirm its compatibility with DJI Fly. Next I considered an iPad Mini, since there are lots of good used options. However, it has questionable durability and an unknown IPX rating against dust and moisture ingress, and apparently it doesn't support the DJI Fly app at native high resolution, defeating the whole purpose of a larger screen. Eventually I settled on a used, unlocked Samsung Galaxy 8 Active in pristine new condition. This is a ruggedized version of the regular Galaxy 8 and has a similar screen size to the iPhone 8+. Even better, it has an SD card expansion slot which is perfect for caching video images, map files, GPX files, etc. and the touch screen works with gloves on. No fingerprint reader to obey! Without a SIM card and stripped of unnecessary software, it's performed well in controlling the Mavic Mini. I've also paired it with my Packtalk Bold helmet comms so I can hear important notifications from the DJI Fly app. The question then was how to get everything set up on the bike.

Recently I bought two Mosko Moto tanks bags in the hopes their ready access to gear outweighs my dislike of how tank bags interfere with standing on the pegs. The larger of the two, the Hood model (5L capacity) provides a nice flat top with Molle straps for attaching gear. The other bag is the Pico. Here you can see the two bags side-by-side. 


At 1L capacity, the Pico is just large enough to hold the drone and two extra batteries (giving a total of 90 mins flight time). It too has a flat top with Molle straps, so this is what I decided to work with. In practice, the Pico has far less than 1L of capacity because of the internal frame design. It should be called the Femto since it barely fits my iPhone 8+ or eyeglasses case.


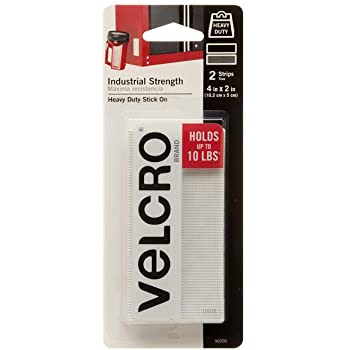
After looking at various gadgets to connect DJI controllers to larger phones and tablets, I decided that Velcro would likely suffice and got some of the 10lb-rated self-adhesive patches. These have a thicker, heavier hook pattern than regular Velcro. 


I cut and stuck small patches to a phone case for the Galaxy, and to the DJI controller. The result is a reasonably solid connection to Mosko Moto's Velcro pad which attaches to the Molle straps. The Velcro pad will flop around a bit unless you offset it to the Molle straps and then weave it into place using the pair of Velcro straps it comes with. The result is a surprisingly stiff yet sufficiently flexible base to attach the controller and phone. The pad can be affixed to either the Pico or Hood tank bag the same way.


The Mavic Mini kit includes a cable to connect the controller to the phone, but it's too short for my setup. After much searching online, I eventually found a slightly longer Micro USB to USB C cable. A quick test confirms this cable supports the video data rate transmitted from the controller (some cables only support charging, not high-speed data). 


Having experimented with this setup, I can say it works very well for quickly setting up the drone, launching, and positioning a shot--even with gloves on and while sitting on the bike. Now I'm able to start filming within a couple of minutes, and once the drone is in place, I can ride through the scene to get some action footage with little risk of bumping the controller and moving the drone. For multi-day trips, I'd use the larger tank-bag so I can include the various chargers needed to keep the drone and GoPro running. Their proximity to the USB port I installed in the dash make them easy to plug in with a standard cord.  

While the Mavic Mini is a great starter drone, it has three significant constraints which aren't deal-breakers, but do limit what and where you can film:
  • The camera, while generally excellent at this price point, has limited ability for manual exposure control. There are some excellent videos on YouTube about how to work around this and improve image quality. It's worth spending some time to figure it out before you try to ride and shoot. Note: DJI has now issued a firmware update (V01.00.0500) to enable manual exposure control. It requires DJI Fly v1.0.8 or later and includes some other valuable video and control improvements. (Update: Combined with a set of neutral density filters--I'm using the Freewell set--the new manual camera settings produce great image results.)   
  • There's no "follow" mode, which means unless you're an incredibly talented pilot, you're pretty much limited to static shots that you ride through. The Mini has three built-in dynamic shots, but setting them up for effective use while riding requires significant practice. It's understandable why DJI didn't include follow-mode in an entry-level, low-cost drone since it requires additional sensors. Still, if they offer this capability in a future Mini model, it would be a category killer and yet unlikely to cannibalize sales of their larger drones because of the next point. 
  • Being so light, the Mini struggles to fly in breezy conditions. I've found this generally limits flying to mornings and evenings, before the heat of the day stirs up wind. You need to be mindful of potentially strong winds up high, even if things seem calm at ground level. Otherwise the drone could simply blow away, and there you are in a helmet and riding gear wondering how or even if you can retrieve it.
Technology aside, the real fun is in finding creative ways to get interesting shots with what you've got. Moreover, none of these gadgets are useful if you don't do something with the footage. That means developing your photography and film-making skills, learning how to use video-editing software, and becoming disciplined enough to edit down hours of probably dull content to show off just the bits that tell an interesting story. For software, I started off using iMovie because it was already installed on my computer, but I quickly found it to be too limited in capabilities. Final Cut Pro was a reasonably priced upgrade and has powerful editing features that are easy to use. Still, lots to learn before I have any results I'll feel comfortable sharing!

Wednesday, June 24, 2020

Tenere 700 tail tidy: B&B Off-Road Engineering

As with many Japanese bikes, the Tenere 700 comes with an OEM monstrosity of a number plate holder hanging far past the tail light and adorned with chinzy reflectors, where it's readily exposed to breakage on your first tip-over in the woods. As with my WR250R, one of the first mods to my Tenere has been to show that booty some love and install a tail tidy. 

Now that the Tenere 700 has been out for a year, those of us in North America who are now just getting the bike can benefit from a wide range of tail tidy options. CamelADV, Adventure Spec, Rally Raid UK, and R&G all offer some good options. 

But the one I chose comes from B&B Off Road Engineering out of Australia, where there's a solid Tenere 700 following and some of the hardest-core riders of this bike in the world right now. I chose B&B's tail tidy because it offers a solid reinforced mechanical design, it doesn't require cutting the OEM plastics, and it has a good fit and finish and a decent sealed LED plate light. Mine was the first to be delivered to Canada, and having received it only 10 days after placing my order, I installed it right away in one evening. 

For Canadians considering the B&B option, I recommend ordering direct from Australia because factoring in the exchange rate and $30 of duties, it ends up significantly cheaper (and probably faster) than ordering from B&B's US distributor. plus I had excellent service from Sarah at B&B, who was quick to let me know when shipping to Canada was re-opened following the COVID shutdown. Go Commonwealth! 

All the parts come nicely bubble-wrapped. The included hardware is mostly metric stainless steel. I replaced some of the nuts with stainless locknuts (M5). 

What's in the box

The tidy is made from aluminum, doubled in places with welded reinforcements. The whole thing is coated in a thick optional black finish (standard is silver) that looks like it should withstand significant abuse.

Here you can see the reinforcement plate for the turn signal stalk. B&B has an optional insert to allow you to install round, threaded signal mounts, which I plan to adopt when I can order some LED signals. 


This is the top plate that bolts into your subframe. Again, beefy construction. 


The number plate light is a completely sealed LED unit. Looks to be decent quality for both the plastics and wiring.


I like how the metal wiring cover reinforces the structure of the number plate holder. There's no flex in this system, so I don't expect any metal fatigue cracking. 


B&B includes easy to follow instructions to remove the OEM tail assembly. The Tenere 700 is so easy to work on... all the bolts are easily accessible and all you need are 8mm and 10mm sockets and a 4mm and 5mm hex to remove the body panels. Make sure you label your turn signals so you know which side to install them on--the wiring only connects one way! 

Installation is a breeze. To connect the number plate light, I cut off the OEM connector and spliced it into the B&B wiring with some heat-shrink tubing and electrical tape to reseal the harness cover. Connect the white and black wires together (ground) and brown and blue together (+12V). Check your wiring by turning on the key before putting everything back together.

When installing the tail tidy wiring cover, I had a bit of a challenge threading in the 10mm cap screws provided in the kit because of some minor deformation of the aluminum and plastic coating on the aluminum threads. One bolt went in fine, but the metal on the other side of the cover was lifted up a bit and the short fastener wouldn't quite reach. I used a longer bolt to clean out the threads and wind things in with all fasteners installed loosely, then replaced the long bolt with the correct shorter one. It's really not that fussy though, and it all went together fine. Fit overall is excellent and no filing or drilling was required except to mount a reflector bracket (see below) and my number plate (no holes are provided). 


Here's all the crap left over. Easily a couple of pounds of plastic and metal! 


One thing the B&B kit is missing is a way to attach a rear reflector. I made a simple bracket out of some scrap stainless steel and sprayed it black with Krylon paint. Last thing I want is to get hassled (or worse)  during a police stop because I'm missing a required reflector! 


This is the OEM reflector bolted on. I drilled three holes in the B&B number plate holder to attach the bracket using some stainless steel bolts. 


There's nowhere to attach side orange reflectors, but what's neat is that even when you remove the OEM plastics, Yamaha has thoughtfully included knurled handgrips under the outer handgrips for the pillion passenger. The flat area right above the grips is a perfect spot to attach some 3M reflective tape. The tape is flush to the surface and therefore protected, yet provides a wide view of 10 square inches of reflector per side, versus the 3 square inches provided by the OEM round reflectors per side. A good conspicuity upgrade in my mind! 


One last note is that the brake light has a small bit of foam stuck to the bottom where it contacted the OEM plastics. When you've installed the B&B kit, this foam doesn't touch anything. I peeled it off and reattached it further inboard so it wedged between the light and the B&B plate. While it doesn't look like the tail light will move around much on rough terrain, repositioning the foam adds a little bit of extra vibration protection.

Overall I'm very pleased with this kit. It's easy to install (couple of hours), solidly built, and looks great. With the addition of a rear reflector and the side tape, I see no reason why the bike shouldn't meet the same regulatory requirements as the OEM configuration. 

Monday, June 8, 2020

Changing the Tenere 700 rear shock spring

The Tenere 700 is widely reported to have rear suspension that is too soft for all but the lightest riders--never mind those carrying baggage as well. The solution is to install a stiffer shock spring in the range of 80-95 N-mm vs. the stock 69 N-mm. For details on what size spring to choose, check out Motorcycle Adventure TV's excellent and informative episode on tuning the Tenere suspension. It's a must-watch for anyone who wants to get the most out of this bike.

Having ordered an 85 N-mm spring from Rally-Raid for myself, the challenge became how to install it. Removing the rear shock assembly is actually pretty easy and takes less than 10 minutes:

  • Support the bike under the skid plate, leaving the rear wheel just kissing the ground.
  • Remove the small triangular body panels on the left and right sides (3 x M6 bolts each)
  • Remove the plastic mud flap between the wheel and the swingarm (2 x M6 bolts)
  • Remove the nut from the bolt holding the bottom of the shock piston to the linkage. It's a 15mm nut and 17mm bolt head. Tap out the bolt with a rod; you may need to wiggle the swingers to relieve a bit of pressure on the bolt.
  • Remove the nut from the upper shock bolt (19mm socket). Tap out the bolt with a rod while holding the shock from behind.
  • Remove the shock by lowering it into the swing arm and pivoting it up over the rear wheel. 
That's it! No removing the exhaust, disconnecting the whole linkage, or removing the wheel, as described in the service manual procedure.

After unsuccessfully trying an automotive spring compressor that just didn't fit the small diameter motorcycle spring, I found the ratchet strap method worked to compress the spring just enough to slip out the retainer. The ratchet strap method is probably fine for the stock spring's stiffness. But even with a third ratchet strap, it was no match for the force needed to compress the 85 N-mm spring to reinstall it safely. That 23% extra force of the stiffer spring left the straps rock-hard and probably at their safety limit. (Consider you need to compress the spring about 15mm to get enough clearance, which means applying 1275N or about 130 kg or 286 lbs of force. However, friction between the straps and coils probably doubles the force you need to apply.) Also, it proved impossible to steer the spring concentric with the piston so I could even attempt to insert the retainer. It just wasn't worth the risk of an explosive release if something failed. Time for a real spring compressor.

After calling around to six bike shops and powersports dealers, all were either unwilling to help, were backed up for weeks with other jobs, or simply didn't answer the phone. Amazingly, Canadian Tire was willing to give it a go, and their service department was open until 9 pm. They said it was a bit tricky to fit the smaller shock assembly into their strut compressor, but luck prevailed. 20 minutes and $40 later, my spring was mounted. Cheaper (and safer) than all the options I evaluated online. Point is, if you've run out of conventional options, try the unlikely options because you might get lucky.

Reinstalling the shock is the same steps in reverse; another ten minutes. Note that on the top bolt, there's a metal bracket to slip over the bolt end before you put on the nut. When fitting the bottom bolt, it helps to wedge a crowbar or piece of plywood under the rear tire so you can lever it up a smidge to align the shock and linkage holes. Torque both the upper and lower shock nuts to 45 N-m (33 lb-ft) as per the service manual spec. 


Now to see how that new spring rides!

Thursday, April 16, 2020

Tenere 700 news and suspension insights

Last fall, Yamaha Canada visited select dealerships to show off the much-anticipated Tenere 700 and take customer deposits for bike deliveries in "early summer 2020". Since then there's been very little official news from Yamaha. The dealerships I've spoken to know less about the bike than what Yamaha's posted on their website, so it's been a little frustrating to find out when--or even if--delivery may be expected this season given all the supply chain disruption from the global pandemic. Sure, there are more important things to worry about right now. But the pandemic will end eventually, and at some point it will be great to relieve all the accumulated stress and isolation by actually riding the bike that Yamaha has teased us with in North America for so many years.

At least there's been plenty of time to scour the Web for tidbits of news about the Tenere. With regards to delivery timeframe, there are several interesting points:
  • Yamaha's factory in Japan, where bikes destined for the US and Canada are made, finally shut down only recently (early April) in response to the pandemic.   
  • Some customers in the US have been called by their dealers to confirm bike colour and other details by April 18 in order to secure a bike in the upcoming planned shipments. 
  • One of the Yamaha Canada reps is reported as saying at one of the winter motorcycle shows in Toronto that bikes are still planned for delivery in early summer.
It seems reasonable to me that early pre-orders (especially from before December 2019) were probably manufactured a while ago and are now sitting in a warehouse ready for shipment. Even with the pandemic, it seems likely Yamaha would try to ship these bikes on time as planned. However, once they arrive at their destination country, there are likely to be inspection delays as a result of the pandemic, which could add unknown delay before the bikes are released and shipped to dealers for customer pre-orders. I'm cautiously optimistic that in Canada (and specifically in Ontario), we may yet see the Tenere arrive at dealers before the end of July. 

Meanwhile, our lucky counterparts in Australia have now had a full season to test the Tenere 700 off road, yielding many fantastic insights about what can be done to tune the bike--especially its suspension. The MAD TV videos on Youtube are not just a well-produced offering to while away the boredom of pandemic isolation; they're also an excellent source of first-hand information about tuning the Tenere, including their latest video on suspension. I've summarized some of the key recommendations below, but the whole 51 minute video is a must-watch to understand how you should choose appropriate compromises to achieve the performance you want. 
  • The OEM shock spring is rated at about 69 N-mm which is simply too soft for all but the lightest riders.
  • Static sag (amount of suspension compression with unloaded bike) should be in the range of 10% of total suspension travel. At the fork, this means about 20mm of compression. MAD installed a 5mm nylon fork spring spacer to achieve this amount of static sag for an unloaded bike.
  • Rider sag (amount of suspension compression with loaded bike and rider) should be in the range of 60-70% of total suspension travel. This is where changing the fork and shock springs becomes necessary if the stock springs are too soft (too much rider sag). MAD opted for an 80 N-mm shock spring, which works well for a rider with gear weighing about 120kg.  They also installed stiffer fork springs and adjustable preload caps on the fork tubes.
  • With heavier loads and stiffer springs, more damping capability is needed to counteract the momentum of a bouncing bike. MAD noted that compression damping was mostly useless except when wound down almost all the way for the fork and shock. They re-valved the shock to improve compression damping, modified the high-speed compression stack in the fork to increase compression damping there as well, and opted for heavier fork oil. They also modified the plunger on the fork damping rod by giving it a more conical profile to achieve a more gradual hydraulic lock when the fork bottoms out (making bottoming-out feel less abrupt).
  • SKF fork seals, which provide the smoothest operation to increase shock compliance to small bumps. 
  • If all the above sounds intimidating, just installing a stiffer shock spring and winding down your compression damping on the shock and forks is going to dramatically improve the suspension performance for heavier riders. 
  • Moreover, re-valving your shock and forks to suit your style of riding and load profile is not that big of a deal, and in my experience is money well spent. It can really transform the performance of your bike for relatively little cost. 
  • Determining the optimal suspension tuning for your riding style and load profile is best done by a professional tuner with the ability to measure dynamic suspension performance. You should provide them with details of your rider weight when fully dressed, and typical baggage weight for your main riding scenarios. Be prepared to make compromises, because what works perfectly on-road may be the opposite of what's needed off-road.    
Once I have my own Tenere delivery confirmed, I'll be ordering the parts I need to tune the suspension and modify a few aspects of the bike that need immediate attention such as the skid plate, clutch/water pump cover, hand-guards, and mirrors. Later on there'll be various second-level improvements like heated grips, additional LED lights, seat, exhaust, spokes (there are many reports of premature spoke corrosion on bikes made in Europe), rear rack, custom graphics, and other odds and ends. But first we need the bike in Canada!    

Saturday, February 29, 2020

Incoming: New Mosko Moto Reckless 80L bags

Mosko Moto is about to introduce a new version of their popular 80L rack-less bag system, dubbed the Reckless 80 "Revolver v3.0".

According to Jenn from Mosko Moto, major upgrades to v3.0 over the current v2.0 (seen above; it's now sold out) are as follows:

  • Adjustable leg angle to improve fit to different bike frames (hence the "Revolver" name)
  • Removable dry-bag-equipped auxiliary leg pockets
  • Updated Hypalon MOLLE
  • Leg-holster-opening adjuster straps
  • Rivet-reinforced leg holsters
Availability is expected "in the next couple of weeks", but with all the COVID-19 issues in global supply chains lately, I wouldn't be surprised if stock becomes limited or delayed.

Although I haven't used Mosko Moto products myself, I've been following the company's progress for several years and have a great deal of respect for their business philosophy and approach to design and testing. This is well-thought-out gear. Having planned to get a rack for my soon-to-arrive Tenere 700 so I could re-use my existing Wolfman and Nelson-Riggs panniers, now in the interests of saving weight and not having a repeat of a rack fitment fiasco, I'm reconsidering all my luggage. Nothing wrong with the Wolfman bags - I've lived out of them for a total of several months now. However, I never got a chance to use the Nelson-Riggs bags which I bought to get just a bit of extra space.

Here's how the Nelson-Riggs compare to the Wolfman Expedition, each mounted on my WR250R with a basic pannier rack. For offroad riding, The Mosko Moto approach should eliminate some deadweight in favor of more carrying capacity, while achieving a narrower load with more centralized mass.